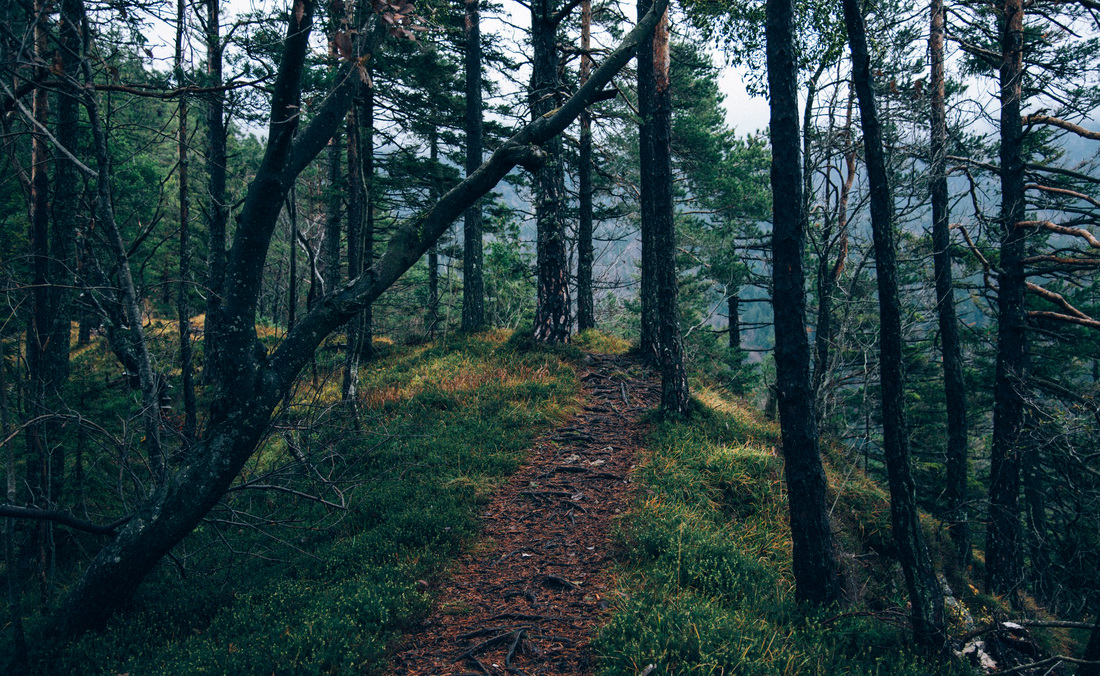
I'm James. This is my year of travel.

|
After installing the software, right-click the archive in Explorer to extract it. 7-Zip is one of the popular choices, since it can handle almost any archive type. Here is how to install them:įirst of all, if a skin comes in an archive, such as a ZIP, RAR or 7Z file, software is needed to "extract" them. All versions of Rainmeter are 100% backwards-compatible, so these older skins will still work just fine. Installing Manuallyīefore Rainmeter 1.3, most skins had to be unzipped and moved to the Skins folder by hand. Note: If Rainmeter is being run as a portable installation, start SkinInstaller.exe from the Rainmeter program folder, and browse to the. This may be disabled by unchecking Backup skins in the Advanced pull-down menu.Ĭlick Install to complete the installation of the package. 
If any of the skins to be installed already exist, they will be moved to a Backup folder before installation. 
Addons : If an author has included addon executable files with the package, they will be installed in the Rainmeter\Addons folder.This may be disabled by unchecking Install fonts to system in the Advanced pull-down menu. Fonts : If an author has included font files with the package, they will be installed in the Windows\Fonts folder.No longer supported in new Rainmeter 2.4. dll files will be installed to the Rainmeter\Plugins folder. Plugins : If the author has added custom plugins to the package the appropriate 32bit/64bit architecture version of the plugin.If Apply included layout is selected, the layout will be applied to Rainmeter following installation. Layouts : If the author has added a layout to the package it will be installed in the Rainmeter\Layouts folder.The author of the package may indicate that one or more skins will automatically be loaded when the installation is complete. Skins : At least one skin will always be included and installed in the Rainmeter\Skins folder. 
If this is what you want, please let me know which skin would you like to use, to tell you how to modify it.This dialog lists each component that will be installed. If you want to get the correct time for your location, you probably will have to edit one of the skins, to get it showing the time of your city. Same applies for the Clean World Clock skin, which shows four cities: Chicago, Paris, Mumbai and Singapore. The skins of the world Cities package show one single city / location per skin, but the name of that city is shown in the skin. For instance the Skins\Yard_World_Clock\Clock_0\Clock.ini skin shows the time of Reykjavik, London, Lisbon and Casablanca, while the Skins\Yard_World_Clock\Clock_7\Clock.ini skin shows the time of Vancouver, Seattle, San Francisco and Los Angeles. But at least one or more cities are shown on each skin. That1s why you can't see the correct time on neither of them. 
But if your location is Australia, none of these skins is set for your time zone. Not sure what you mean by "skins give incorrect times", because none of those skins is showing the real time of your location, unless you're into on of the locations shown by one of the skins. I just tested another world clock, and its also incorrect:Īll these skins are showing time for different locations around the world.
0 Comments
Leave a Reply. |
AuthorWrite something about yourself. No need to be fancy, just an overview. ArchivesCategories |
 RSS Feed
